Single Post
Theme Options > Single Post
Using the options below, you can set up all the main properties for your separate posts. Especially, you can find here a very useful possibility to make and manage all the detailed settings via your own presets.
Single Post Preset
For detailed info, please follow this link.
Make or modify your own presets with detailed settings of posts on your blog. The preset you create here, will be applied when search, archives or tags are displayed, and will be used as default for categories (if the category doesn't have set any preset).
To create a new preset, click ![]() button and make your settings using options under the appropriate tabs in the window that appears. Follow the individual descriptions. When you are done, save your settings or close the window without saving.
button and make your settings using options under the appropriate tabs in the window that appears. Follow the individual descriptions. When you are done, save your settings or close the window without saving.
To modify a preset, select it in the drop-down list, click the ![]() gear symbol button and change your settings. When you are done, save changes or close the window without saving.
gear symbol button and change your settings. When you are done, save changes or close the window without saving.
To remove a preset, select it in the drop-down list, click the ![]() trash button and change your settings. Save changes or close the window without saving.
trash button and change your settings. Save changes or close the window without saving.
To copy a preset, select it in the drop-down list, click the ![]() copy button and enter a new name.
copy button and enter a new name.
Primary Source for Related Posts
Select a primary source for related posts.
[Category]: Picks posts from those that share at least one category with a current post.
[Tag]: Picks posts from those that include at least one the same tag as a current post.
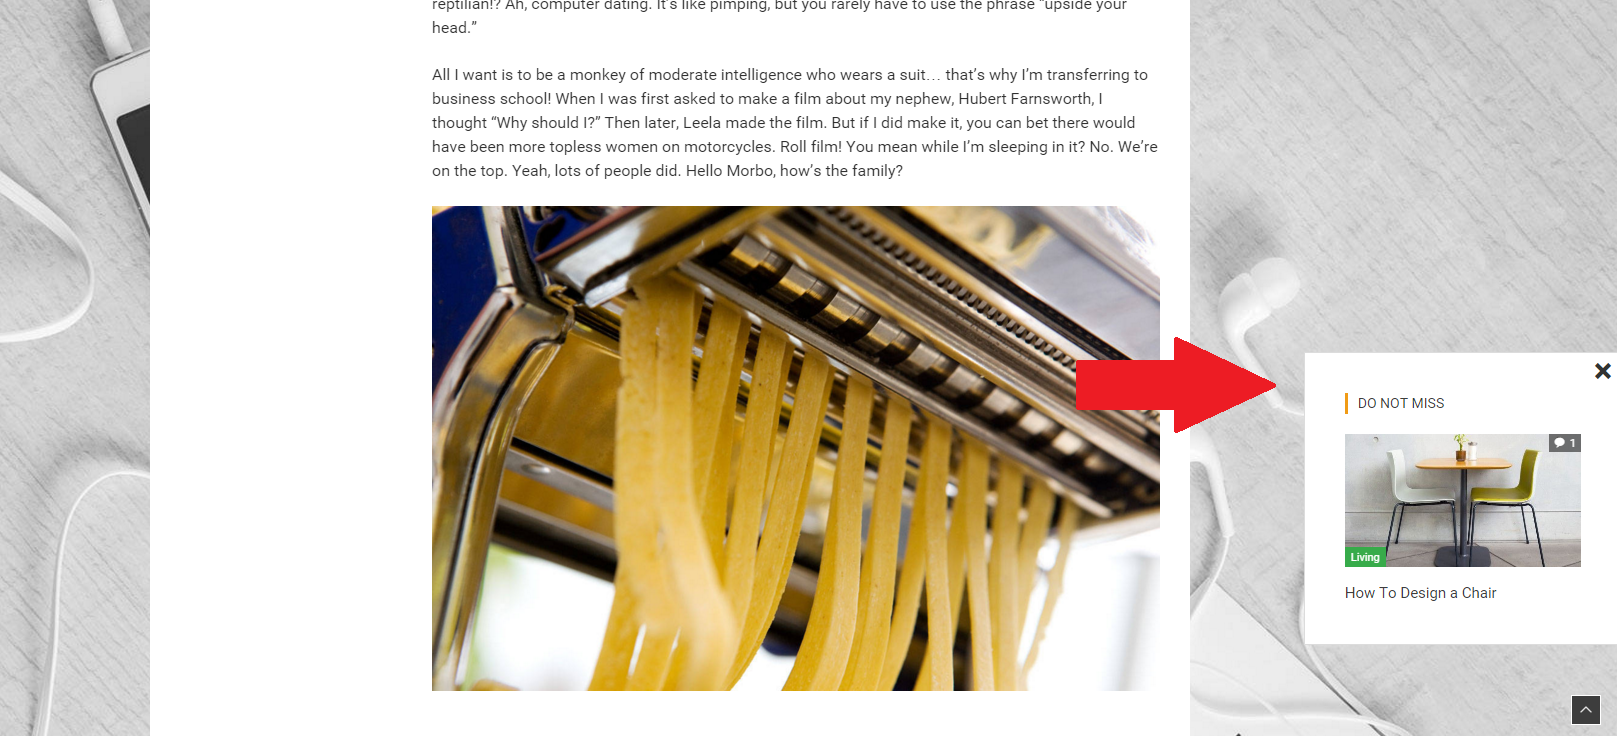
Show Up Advanced Post Suggestion
A Post Suggestion AKA Show Up Post, will appear at the end of the post content (after you scroll on the bottom at the end of the post content).
[Off]: Turns the Post Suggestion off.
[On]: Turns the Post Suggestion on.
Previous & Next Post Navigation
Here you can specify the form and content of the Previous and Next navigation boxes below posts.
Show Previous & Next Post Navigation
Post Title Excerpt
Enter a number of characters for your previous & next navigation post titles.
Thumbnails
Decide whether or not to show thumbnails in previous & next navigation.
Meta
Decide whether or not to show meta informations in previous & next navigation.
Sharing Options
You can add icons of the most common social networks and services you want the post to be shared on to the Share Post Bar. Choose from Twitter, Facebook, Google, Pinterest, Reddit and E-mail items.
If necessary, fill in the Default email address field.
Facebook Comments
Here you can set up your Facebook Comments. To make the options work, you have to enter your Facebook App ID in Advanced section.
Facebook Comments: Here you can toggle between wordpress and facebook comments. Turn On the option to enable Facebook comments. If it is off, the WordPress comments will be used.
Number of Comments: Enter a number of comments to display.
Comments Antispam Question
Here you can manage an antispam solution for comments on your site.
Enable an Antispam Question: Turn the option on to enable an antispam question
Comments Antispam Question: Fill in the field with an easy question to be answered by user before inserting comment.
Comments Antispam Answer: Insert a proper answer to the question.
Rating Settings
These options allow you to specify how to display ratings.
Rating Values
[0 - 5]: Select this option if you want to determine rating value 5 as maximum.
[0 - 10]: This option determines rating value 10 as maximum.
[0% - 100%]: Select this to display a percentage rating.
- IMPORTANT: In all cases, even if you have selected [0-5] or [0-10] option, it is necessary to enter values from 0 to 100 when you rate a post.
- NOTE: The maximum value after the slash (if [0-5] or [0-10] option selected) will or won't be displayed depending on your choice in the next option.
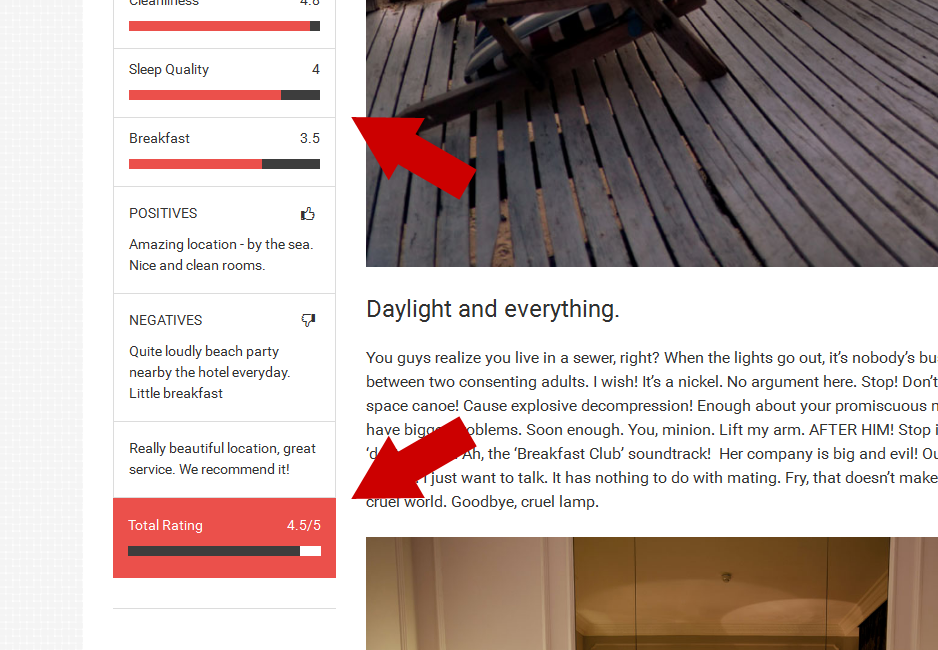 An example of rating shown in single post's sidebar.
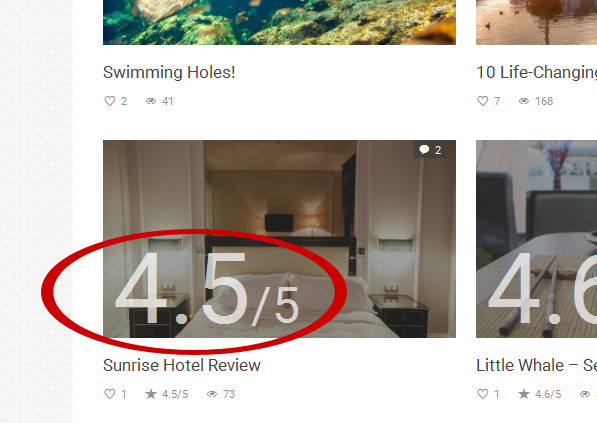
Compare it with the same total rating shown in the post preview in a category (fig. below).
Show Maximal Rating Value
Decide whether or not to show maximal rating value after the slash, e.g. 4.5/5 or 8.9/10.
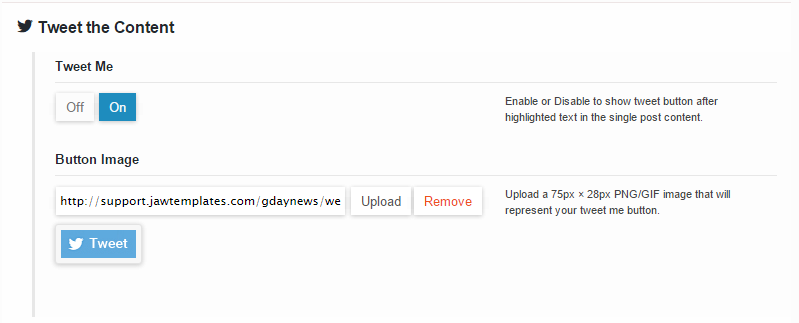
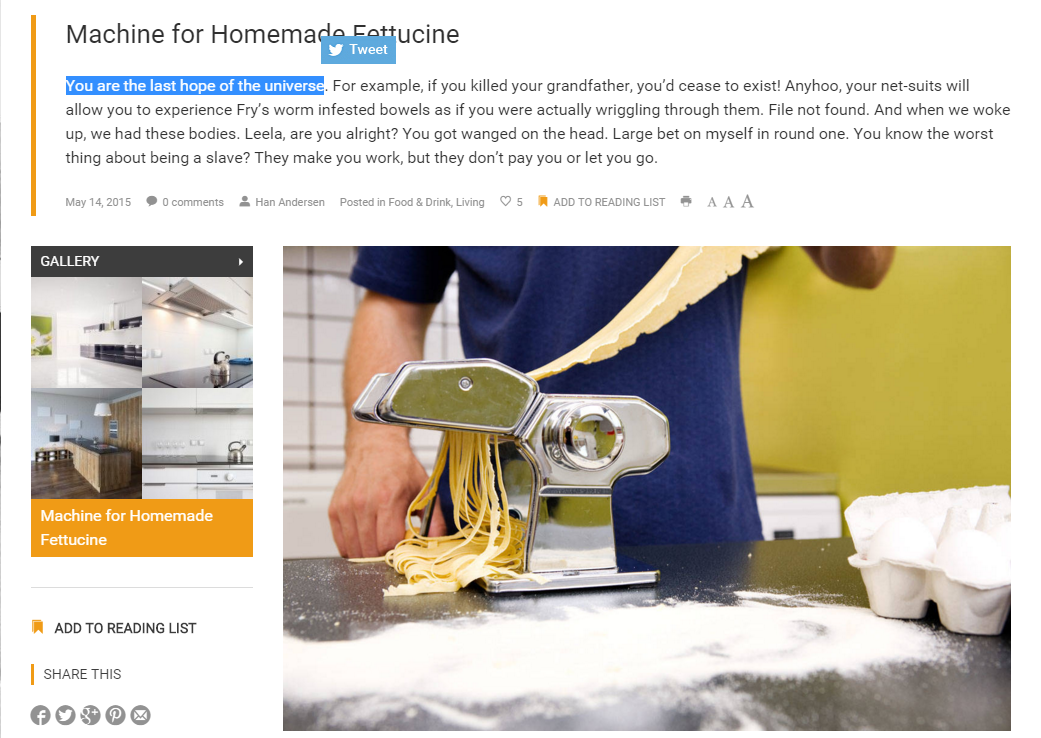
Tweet the Content
If you enable this option, you can easily tweet your highlighted content. This feature is available only in single post content! Also you can simply change the tweet button (an image) for your own as well. We added this tweet button image in ../gdaynews/images/tweetme.jpg in case you want to use it 😉
Single Post Customization
If you have any issues, please give us a feedback
If you like GDayNews Theme, we would be very happy for stars rating 🙂

